Counting tiles instead of cost
The trap: assuming a Protector can always cross four tiles.
What to do: add 1 + the height difference for each step. Going up and going down both cost more than a flat step.
Your first steps on the board
A good decision starts
before you move.
You know the pieces, but are not sure what to play yet? This guide helps you read a Pawn&Peak position, choose an objective and recognise the mistakes that can cost you a match.
Review the rules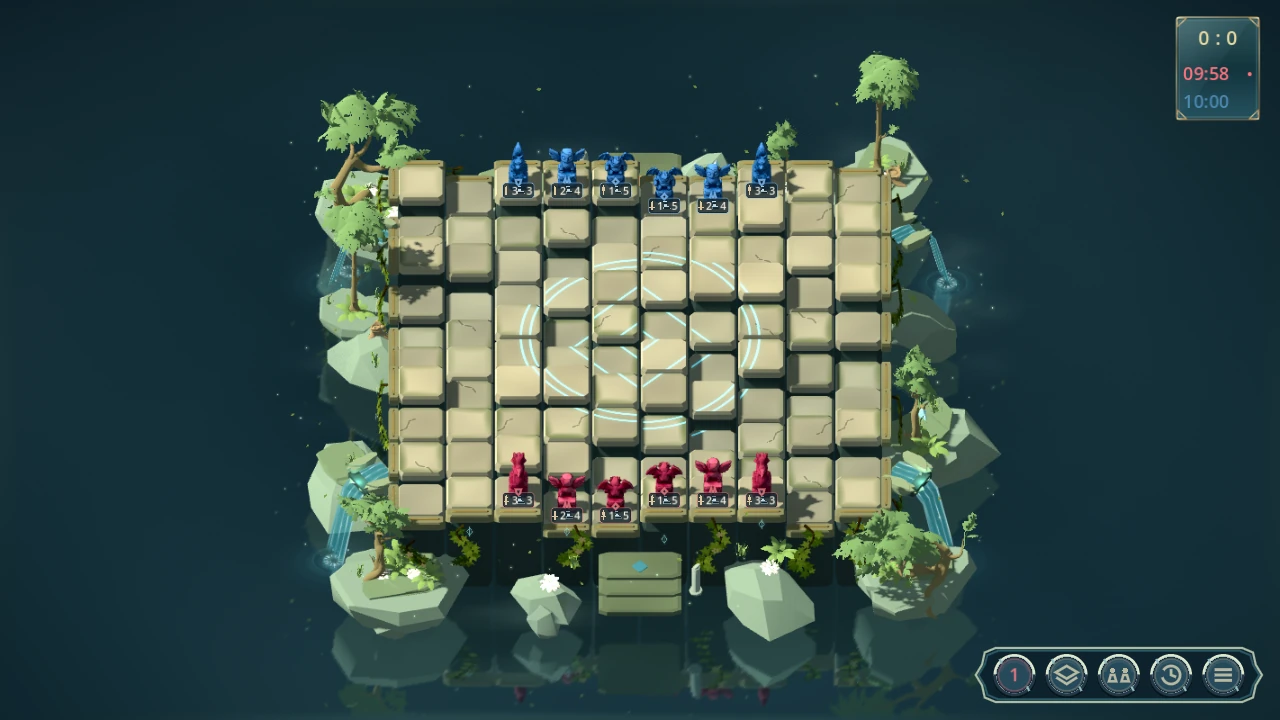
01 · Know what you are aiming for
Captures remove threats, but do not score points. Stopping a piece near its exit can be more urgent than taking an easy target in the centre.
First, check the score and the exits: a Guardian wins immediately if it is the first piece to exit. After two exits in total, across both teams, the score decides the result.
Pick a simple goal for your next moves: open a route, prevent an exit or prepare a supported capture. Reassess that goal after your opponent responds.
02 · Build a habit
Count the path to the far edge, including elevation, then add the extra point needed to exit. Do this for your pieces and your opponent’s.
Compare attack and defence with height and support included. A strength-1 piece can capture a strength-2 piece from higher ground: the number on the badge does not tell the whole story.
Will your piece be capturable after it moves? Will you have removed reinforcement from an ally? A good square should still be useful after the other player’s turn.
Compare a few moves that serve your objective. In a timed match, watch your clock: a short, consistent check is better than prolonged hesitation every turn.
03 · Recognise the traps
The trap: assuming a Protector can always cross four tiles.
What to do: add 1 + the height difference for each step. Going up and going down both cost more than a flat step.
The trap: judging a fight only by the two pieces’ base strengths.
What to do: inspect the target’s horizontal and vertical neighbours. Your allies add their strength to the attack; the defender’s allies each add +1 defence.
The trap: assuming a Guardian is safe because it has strength 3.
What to do: check opposing captures before advancing it. Elevation, support and a Protector’s charge can change the balance.
The trap: exiting without checking the final score.
What to do: compare exits worth 1, 2 or 3 points. Remember that the second exit ends the match immediately, and a Guardian only wins automatically when it exits first.
The trap: trying to capture or exit with the Scout’s special ability.
What to do: use it to reach an empty tile without elevation costs. It replaces your move for the turn; it is not a free action you can follow with an attack.
The trap: moving an ally without noticing that it reinforced another piece’s defence.
What to do: look at the tile you are leaving, too. A move that is safe for the moving piece can expose the one left behind.
04 · Choose the right exit
A thought exercise: one blue piece has already exited, and the score is Red 0 — Blue 1. It is your turn, and both your Scout and your Protector have a legal exit.

1 — 1
It scores one point. This is the match’s second exit: a draw.

2 — 1
It scores two points. The match also ends here: Red wins.
The best exit depends on the score, not just how close a piece is to the edge. This example assumes both exits are legal; always check the actual route cost.
05 · Learn one thing at a time
Worked examples show how terrain changes a move, a capture or a charge.
Tips for the current beta. There is no universal opening move: adapt your decisions to the terrain, score and opposing reply.