For movement
Each step costs 1 + the absolute height difference. Moving from 0 to 2 costs three points, and descending from 2 to 0 costs another three. Every height change along the path adds to the cost.
Read the terrain, prepare your next move
The shortest route
is not always the best one.
In Pawn&Peak, elevation changes movement costs and combat outcomes. Learn to spot useful high ground, an efficient detour and terrain that activates a special ability.
Explore the examples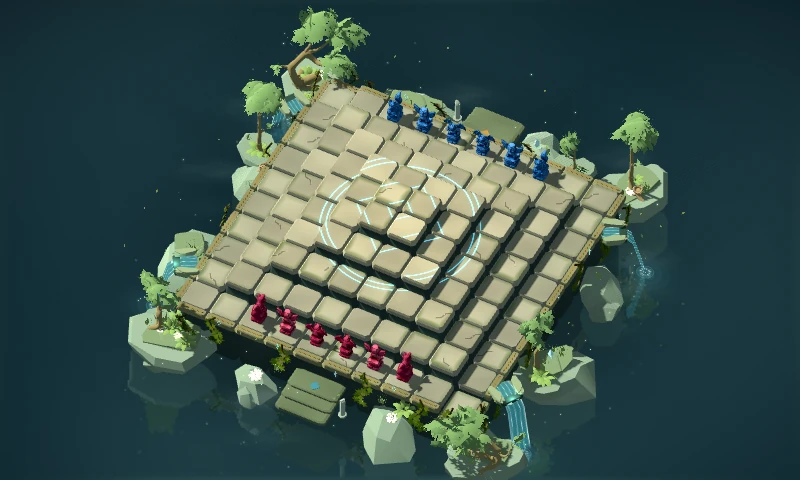
01 · Two different effects
Each step costs 1 + the absolute height difference. Moving from 0 to 2 costs three points, and descending from 2 to 0 costs another three. Every height change along the path adds to the cost.
Compare the height of the attacker’s starting tile with the target’s: +1 if it is higher, −1 if it is lower. The bonus does not accumulate with the levels crossed.
02 · Learn by example
These simplified diagrams show heights, not coordinates. Unless stated otherwise, routes are clear and no allies support the combat.
Example 1 · Choose a route
A Protector starts on the left tile and aims for the right tile, both at height 0. The central tile between them is at height 2.
The Protector can take the detour with its four movement points. The game uses the cheapest route: visual distance alone is not enough.
Example 2 · Prepare a capture
A strength-1 Scout stands at height 1, next to an opposing strength-2 Protector at height 0.
The attack costs two movement points. Its attack becomes 1 + 1 = 2 against 2 defence: the attacker wins the tie and captures.
But if an ally of the Protector stands on another tile adjacent to the target, its defence rises to 3. The same attack is no longer enough.
Example 3 · Use an ability
A Protector and an opposing Guardian have one tile between them. Both stand at height 0; no other pieces are involved.
In this example, the rest of the board is flat: the cheapest route really does cost four points with the raised tile. You cannot force a four-point detour to gain the charge when a cheaper route exists.
2 + 2 = 4 points
Example 4 · Cross a slope
On a slope rising two levels per tile, a Scout at height 0 aims for an empty tile at height 4, two tiles away in a straight line.
The normal route costs 3 + 3 = 6 points: more than its budget of five. Its special ability can still reach that tile without elevation costs.
The intermediate tile must be empty. This takes the whole turn and cannot capture. Before using it, check whether the new position will remain safe on your opponent’s turn.
Normal: 6 > 5
03 · Adapt your reading
Normal and Ranked matches use random terrain. In Training, Local and LAN, you can choose the type. These tips are ways to read the board: the actual positions of tiles and pieces decide the best move.
| Terrain | Profile | What to watch |
|---|---|---|
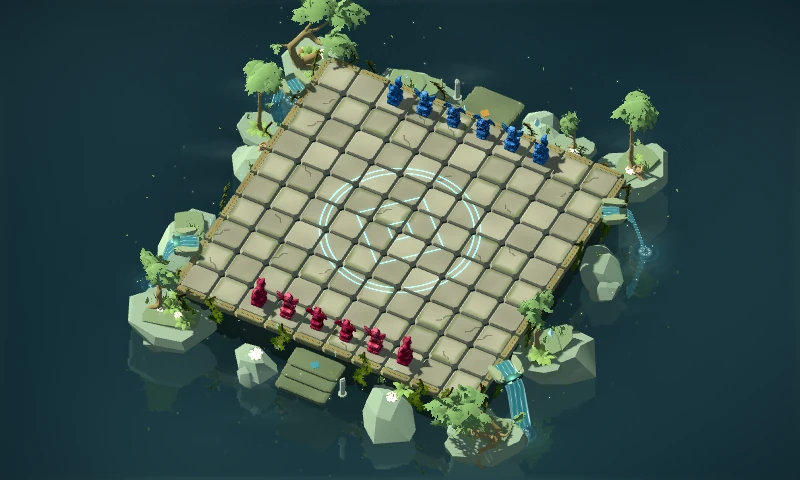
| Flat | All tiles at the same height. | Distances, support and the extra point to exit. No elevation bonus. |
| Mountains | Generation favours positive heights. | The cost of reaching high ground and cheaper passages around raised terrain. |
| Valleys | Generation favours hollows. | The cost of descending and climbing out. A tile in a hollow is still lower than a target on its rim. |
| Highlands | Contrasting high and low areas. | Height transitions and attacks prepared from the edges of higher areas. |
| Woodlands | Heights limited to −2 through +2. | Small changes that affect a charge or capture. Decorative trees do not provide cover. |
| Desert | Generally less uneven terrain. | The occasional height difference: even one level can change a capture. |
| Everest | Terraces rising towards the centre. | The cost of crossing towards the centre, routes around the edges and the Scout’s abilities. |
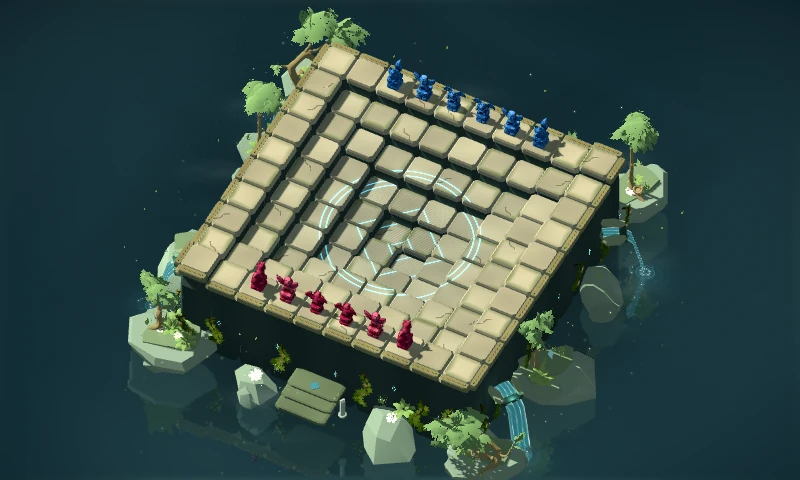
| Mariana | Terraces descending towards the centre. | The cost of leaving the hollow and your height relative to the target before attacking. |
A terrain’s name does not grant hidden bonuses to pieces. The effects come from tile heights, positions and each role’s abilities.
04 · Put it into practice
Find helpful habits and mistakes to avoid in the beginner’s guide.
Rules and examples checked against the beta engine on 6 November 2026. Diagrams illustrate local situations, not a winning strategy against every defence.